
You select the Wi-Fi network, enter the password, and the phone just keeps displaying “Obtaining IP Address” – but nothing happens. You try again, and the result is the same. This situation is particularly frustrating when you get home and want to connect to the router, or when you need to get urgent work done at the office. In India, this problem most often arises after the router has been restarted, the password has been changed, or too many devices are connected simultaneously. Sometimes, the phone simply fails to acquire an IP address on its own, and that is the root of the problem.
In this guide, we will solve the “Obtaining IP Address” issue step by step.
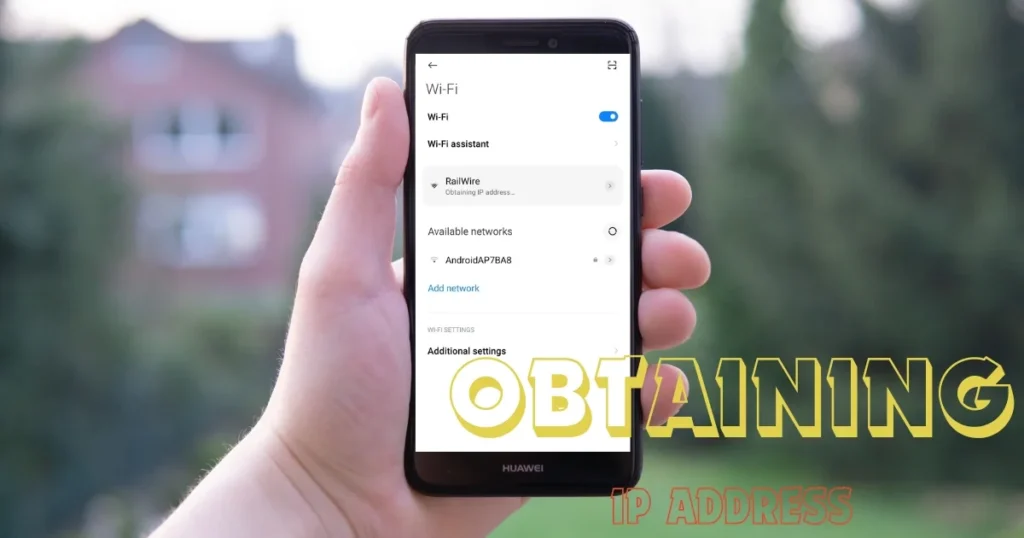
What does “Obtaining IP Address” mean?
When your Android phone connects to Wi-Fi, it first requests an IP address from the router. This process takes place via DHCP (Dynamic Host Configuration Protocol).
The router assigns a unique IP address to the phone – such as 192.168.1.105 – and the connection is then established.
When the phone gets stuck on “Obtaining IP Address,” it means:
- The phone is requesting an IP address, but the router is unable to provide it, or
- The router has assigned an IP address, but the phone is unable to accept it, or
- An IP conflict has occurred – another device has been assigned the same IP address.
Main causes of the “Obtaining IP Address” problem
1. The router’s DHCP is stuck.
The router has exhausted its IP pool, or the DHCP service has hung.
2. IP Conflict
Two devices on the network were assigned the same IP address.
3. Too many devices are connected to the router.
In Indian households, there are often 8–12 devices connected to a single router, causing the DHCP pool to fill up.
4. The phone’s Wi-Fi settings are corrupt.
There is an issue with the saved network configuration.
5. The router’s MAC filter is enabled.
The router assigns an IP address only to allowed MAC addresses. If your phone’s MAC address is blocked, it will not receive an IP address.
6. The Wi-Fi password is incorrect.
The phone can get stuck on “Obtaining IP Address” if an incorrect password is entered.
7. The Android network settings have become messed up.
System-level Wi-Fi settings have become corrupted.
8. The router’s firmware is outdated.
Outdated firmware can lead to compatibility issues.
All ways to fix “Obtaining IP Address”
Fix 1 – Restart the router (the first step)
This resolves the problem in 50% of cases.
Steps:
- Turn off the router’s power switch.
- Wait for 60 seconds – 10–15 seconds is not enough.
- Turn it back on.
- Wait for the router to fully boot up (1–2 minutes).
- Turn the Wi-Fi off and then on again on your phone.
- Connect.
Why does it work?
The router’s DHCP table refreshes. Stuck connections are cleared, and a fresh IP is assigned.
This problem is frequently observed in India when the router fails to boot up correctly after a power outage.
Fix 2 – Forget the Wi-Fi network and reconnect.
This resolves the issue by removing the corrupt configuration of the saved network.
Steps:
- Open Settings > Wi-Fi
- Tap (or long-press) the network name
- Select “Forget” or “Forget Network”
- Turn off Wi-Fi
- Turn on Wi-Fi after 10 seconds
- Find the network
- Carefully re-enter the password
- Connect
Extra tip:
When connecting, type the password and use the eye icon to verify it – to ensure no characters are incorrect.
Fix 3 – Manually Set a Static IP – The Most Reliable Fix
This fix works best when the router repeatedly fails to assign an IP address via DHCP.
Manually setting an IP address bypasses the DHCP process.
Steps:
- Settings > Wi-Fi
- Tap and hold the network name
- Tap “Modify Network” or the pencil icon (edit)
- Expand “Advanced Options”
- Change IP Settings from “DHCP” to “Static”
Fill in these values:
- IP Address: 192.168.1.200 (a unique number within the router’s range)
- Gateway: 192.168.1.1 (router’s IP – usually this is the one)
- Network Prefix Length: 24
- DNS 1: 8.8.8.8 (Google DNS)
- DNS 2: 8.8.4.4
Save > Connect
How to choose an IP address?
The router range is typically 192.168.1.1 to 192.168.1.254. Choose a number above 150, such as 192.168.1.200 – this is usually not assigned to any other device.
How to find the router’s Gateway IP?
Check the “Gateway” details in the Wi-Fi settings on a connected device (such as a laptop or another phone).
Fix 4 – Restart your phone and try again.
Sometimes, the phone’s Wi-Fi module gets stuck due to a temporary bug.
Steps:
- Turn off the phone completely.
- Wait for 30 seconds.
- Turn it on.
- Connect to Wi-Fi.
Force restart:
- Samsung: Power + Volume Down (10 seconds)
- Xiaomi: Power button (10 seconds)
- Realme/Oppo: Power + Volume Down
Fix 5 – Toggle Airplane Mode
This is a quick fix that resets the Wi-Fi module.
Steps:
- Turn on Airplane Mode from the notification shade
- Wait for 15–20 seconds
- Turn off Airplane Mode
- Wi-Fi will turn on – connect to it
If Wi-Fi turns off:
- After turning off Airplane mode, manually turn on Wi-Fi.
Fix 6 – Check the router’s MAC filter.
Some routers use MAC address filtering. If your phone’s MAC address is not on the allowed list, it will not receive an IP address.
Check the router’s admin panel:
- Open 192.168.1.1 (or 192.168.0.1) in your browser.
- Enter the username and password (default: admin/admin).
- Locate “Wireless > MAC Filter” or “Security > MAC Filtering”.
- If the feature is enabled, add your phone’s MAC address or disable MAC filtering.
Where to find your phone’s MAC address:
- Settings > About Phone > Wi-Fi MAC Address
- Or Settings > Wi-Fi > tap on that network > MAC Address
Note: Android 10+ features a random MAC address function that generates a unique MAC for each network. Disable this and select “Use device MAC”:
- Settings > Wi-Fi > Tap on that network > Privacy > Use device MAC
Fix 7 – Increase the Router’s DHCP Lease Range
If there are many devices in the home and the router’s DHCP pool is small:
In the router settings:
- Open the admin panel (192.168.1.1)
- LAN Settings > DHCP Server
- Increase the IP range (e.g., from 192.168.1.100 to 192.168.1.250)
- Increase the maximum number of clients
- Save and restart the router
Fix 8 – Reset Android Network Settings
This restores all Wi-Fi, Bluetooth, and mobile network settings to their defaults.
Steps:
- Settings > General Management (Samsung) or Additional Settings (Xiaomi/Realme)
- Reset
- Reset Network Settings
- Confirm
Keep in mind:
- All saved Wi-Fi passwords will be deleted
- Bluetooth pairings will be removed
- VPN settings will be reset
Note down the passwords first. Connect to Wi-Fi after the reset.
Fix 9 – Change the Wi-Fi Frequency Band
If the router is broadcasting on the 5GHz band and the phone is unable to properly handshake with it:
In the router settings:
- Keep a separate name for the 2.4GHz band.
- Specifically connect to the 2.4GHz network on your phone.
Why 2.4GHz:
It offers a greater range and is less affected by walls. It remains more stable in typical Indian homes.
Band preference on Android:
- Settings > Wi-Fi > Advanced (or connected network > pencil icon)
- Preferred frequency band: select 2.4GHz
Fix 10 – Adjust the router’s channel settings.
Interference occurs if your router and your neighbors’ routers are using the same Wi-Fi channel.
In the router admin panel:
- Wireless Settings > Channel
- Switch from ‘Auto’ to a specific channel
- For 2.4GHz: Prefer Channel 1, 6, or 11
- Save and restart the router
Use the free tool WiFi Analyzer (Play Store, $0) to see which channels around you are crowded and which ones are free.
Fix 11 – Update the router’s firmware.
Outdated router firmware can lead to compatibility and DHCP issues.
Steps:
- Open the router admin panel
- Go to Administration > Firmware Update or Management > Software Update
- Check for the latest firmware
- Perform the update
For popular routers in India:
- TP-Link: tp-link.com/in/support/download
- D-Link: dlink.co.in/support
- Tenda: tendacn.com/in/support
Fix 12 – Reset the phone’s Wi-Fi driver (Developer Options)
This is an advanced fix.
Enable Developer Options:
- Tap 7 times on Settings > About Phone > Build Number.
In Developer Options:
- “Mobile data always active” – disable
- “Wi-Fi scan throttling” – disable
- “Aggressive Wi-Fi to cellular handover” – disable
Restart the phone.
Useful Free Tools
| Tool | Work | Price |
|---|---|---|
| WiFi Analyzer | Channel interference check | $0 |
| Fing | Detect Network IP conflicts | $0 |
| Network Signal Info | Connection details and IP information | $0 |
| PingTools | Connection test | $0 |
| Router admin apps | TP-Link Tether, D-Link Wi-Fi etc. | $0 |
Visit fixtech.in for more detailed guides on Android and Wi-Fi troubleshooting.
FAQs – Android phone Obtaining IP Address
1. What is the difference between “Obtaining IP Address” and “Authentication Error”?
An “Authentication Error” means the password is incorrect. “Obtaining IP Address” means the password is correct, but there is a problem with IP assignment.
2. Can a static IP be used permanently?
Yes. A static IP is reliable – just ensure there is no conflict with another device. Choose a unique number.
3. All devices are stuck on “Obtaining IP Address” – what should I do?
This is a router issue. Restart the router and check the DHCP settings.
4. Did this problem start after changing the Wi-Fi password?
Select “Forget network” and connect again. The old password might be cached in memory.
5. Could this be caused by a VPN?
Yes. Sometimes, IP assignment conflicts occur when a VPN is active. Turn off the VPN and try connecting.
6. What is the default password for the router admin panel?
In most cases, it is “admin/admin.” It is also usually printed on the label on the back of the router.
Final Thoughts
Getting stuck on “Obtaining IP Address” is frustrating, but the solution usually involves simple steps like restarting the router, forgetting the network, or setting a static IP. Fix 1 (restarting the router), Fix 2 (forgetting and reconnecting), and Fix 3 (static IP) – these three fixes combined resolve the “Obtaining IP Address” issue in 90% of cases in India. Try them one by one, and your Wi-Fi will connect quickly.