
Windows Update ran, the download took hours, and installation began – but suddenly, everything came to a halt. “Error 0xc1900101” appeared on the screen, and Windows rolled back to its previous state. This situation is particularly frustrating for users attempting to upgrade from Windows 10 to 11 or trying to install a major feature update. In India, this error is frequently reported on Dell, HP, Lenovo, and Asus laptops – especially those with outdated drivers, limited storage, or incompatible hardware.
In this guide, we will fully understand Error 0xc1900101 and explore every possible fix.
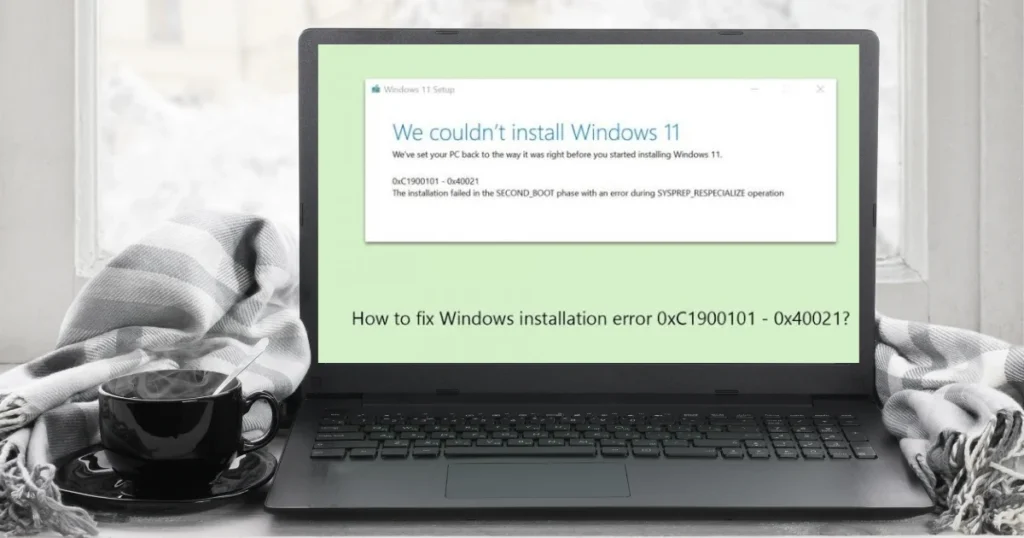
Error 0xc1900101 – What exactly is it?
0xc1900101 is a Windows upgrade/feature update error. It means that a driver failed or stopped responding during the installation process.
This error often appears with the following sub-codes:
- 0xc1900101 – 0x20004 – Driver issue during the SAFE_OS phase
- 0xc1900101 – 0x2000c – Installation fails immediately upon starting
- 0xc1900101 – 0x20017 – Driver problem during SAFE_OS
- 0xc1900101 – 0x30018 – Failure during the FIRST_BOOT phase
- 0xc1900101 – 0x3000D – Failure during migration
- 0xc1900101 – 0x4000D – Failure during the second boot phase
- 0xc1900101 – 0x40017 – Driver issue during SECOND_BOOT – most common
Common pattern: A driver problem is the primary cause in every sub-code.
Main causes of error 0xc1900101
1. Incompatible or Outdated Drivers
During a feature update, Windows tests drivers against the new kernel. If a driver is incompatible, the upgrade fails.
2. Insufficient Disk Space
A minimum of 64GB of storage is required for the Windows 11 upgrade. At least 20GB of free space is needed on the C: drive.
3. External hardware is connected.
USB devices, external drives, and webcams can interfere with the upgrade process.
4. RAM Issue
A faulty RAM module can corrupt an upgrade installation.
5. Third-party antivirus or security software
can block the security software installation process.
6. The BIOS is outdated.
An old BIOS does not support the hardware requirements of the new Windows version.
7. System files are corrupt.
Pre-existing Windows corruption causes the upgrade to fail.
8. TPM or Secure Boot Issues
TPM 2.0 and Secure Boot are required for the Windows 11 upgrade.
All ways to fix error 0xc1900101
Fix 1 – Unplug all external devices
This is the simplest and surprisingly effective fix.
Before starting the upgrade:
- Disconnect USB drives and external HDDs/SSDs
- Disconnect the USB hub
- Disconnect the webcam (if external)
- Disconnect the external keyboard/mouse (use the laptop’s built-in ones)
- Remove the SD card
- Disconnect the printer’s USB cable
- Disconnect the docking station
Keep only the power cable and the internet (LAN) cable connected.
Now, try the upgrade again.
Why does this work?
Every connected device has a driver. If a driver fails during the upgrade, the entire upgrade fails.
Fix 2 – Free up space on the C: drive
Minimum requirements for the Windows 11 feature update:
- There should be 20–25 GB of free space on the C: drive.
- Total storage: 64 GB minimum.
Ways to free up space:
Run Disk Cleanup:
- Win + R > cleanmgr > Enter
- Select C: drive
- Click on “Clean up system files”
- Check everything – Windows Update Cleanup, Temporary files, Recycle Bin
- Ok
From Command Prompt (Admin):
cleanmgr /sageset:65535 & cleanmgr /sagerun:65535Manual cleanup:
- Clear the Downloads folder
- Empty the Recycle Bin
- Use a tool like Files by Google (free, $0)
- Delete old restore points:
- Control Panel > System > System Protection > Configure > Delete
Fix 3 – Update all drivers
This is the most important fix for error 0xc1900101.
Update all major drivers before upgrading:
Graphics Driver:
- NVIDIA: Download the latest version from nvidia.com/drivers.
- AMD: amd.com/support
- Intel: intel.com/content/www/us/en/download-center/home.html
Chipset Driver:
- Visit the laptop brand’s official website.
- Download the chipset driver.
Network/WiFi Driver:
- Device Manager > Network adapters
- Right click > Update driver
Laptop Brand Websites:
- Dell: dell.com/support/home
- HP: support.hp.com
- Lenovo: support.lenovo.com
- Asus: asus.com/in/support
Automatic driver update tool:
- Snappy Driver Installer (free, $0) – can update drivers offline.
Fix 4 – Disable Problematic Drivers
If a specific driver upgrade is failing, try disabling it temporarily before attempting the upgrade.
How to identify which driver is causing the problem:
- Win + X > Event Viewer
- Windows Logs > Application and System
- Check the error(s) that occurred during the failed upgrade.
Or use the SetupDiag tool (official Microsoft tool, free):
- Download SetupDiag from Microsoft:
SetupDiag – Microsoft Support - Run it – it will automatically analyze the upgrade log and identify the problematic driver.
Disable the driver:
- Device Manager > problematic device > Right click > Disable device
- Run the upgrade.
- After the upgrade is successful, enable the device and update the driver.
Fix 5 – Temporarily Uninstall Antivirus and Security Software
Third-party security software can block the upgrade process.
Steps:
- Control Panel > Programs > Uninstall a program
- Uninstall the antivirus (Quick Heal, Kaspersky, Avast, McAfee, Norton)
- Restart the PC
- Try upgrading Windows
- Reinstall the antivirus once successful
Windows Defender ($0) is safe during the upgrade and does not interfere.
Note: Keep the internet connected during the upgrade, but turn off the antivirus.
Fix 6 – Repair System Files using SFC and DISM
Pre-existing Windows corruption can cause the upgrade to fail.
In an elevated Command Prompt:
sfc /scannowUpon completion:
DISM /Online /Cleanup-Image /CheckHealth
DISM /Online /Cleanup-Image /ScanHealth
DISM /Online /Cleanup-Image /RestoreHealth
Restart the PC.
Then, try upgrading via Windows Update.
Official Microsoft guide:
System File Checker Tool
Fix 7 – Clear the Windows Update cache
A corrupt update cache can cause the upgrade to fail.
In the Admin Command Prompt:
net stop wuauserv
net stop cryptSvc
net stop bits
net stop msiserver
ren C:\Windows\SoftwareDistribution SoftwareDistribution.old
ren C:\Windows\System32\catroot2 catroot2.old
net start wuauserv
net start cryptSvc
net start bits
net start msiserver
Restart your PC.
Now go to Windows Update and select ‘Check for updates’.
Fix 8 – Test the RAM
A faulty RAM upgrade can cause corruption.
Windows Memory Diagnostic:
- Win + R > mdsched.exe > Enter
- “Restart now and check for problems”
- The PC will restart and run the test.
- View the results in Event Viewer.
MemTest86 (free, $0):
- Download from memtest86.com
- Create a bootable USB drive.
- Run a memory test.
- If errors occur, inspect the RAM (clean off dust, change the slot).
Temporarily remove the RAM:
- If you have two RAM sticks, try removing one to perform the upgrade.
- Try the other slot as well.
Fix 9 – Update BIOS/UEFI
An outdated BIOS does not support Windows 11 requirements.
Check the BIOS version:
- Win + R > msinfo32
- Note down the BIOS Version/Date
BIOS update download:
- Visit the official website of your laptop or motherboard.
- Download the latest BIOS version.
- Follow the instructions to perform the update.
Keep in mind: During the BIOS update:
- Keep the laptop connected to power
- Do not interrupt the update process
- Download the BIOS for the correct model
Fix 10 – Check TPM and Secure Boot (for Windows 11 Upgrade)
Requirements for Windows 11:
- TPM 2.0 must be enabled.
- Secure Boot must be enabled.
TPM check:
- Win + R > tpm.msc
- It should display “TPM is ready to use”.
- The Specification Version should be 2.0.
Secure Boot check:
- Win + R > msinfo32
- Secure Boot State: It should be on.
Enable in BIOS:
- Restart the PC > Enter the BIOS (Del, F2, F10, or F12 – depending on the brand)
- Enable TPM in the Security section
- Enable Secure Boot in the Boot section
- Save and exit
Fix 11 – Upgrade using the Media Creation Tool
If the upgrade via Windows Update is failing, use the Microsoft Media Creation Tool.
Steps:
- Download from Microsoft’s official site:
Microsoft Windows 11 Download - “Download Windows 11 Installation Assistant” or “Create Windows 11 Installation Media”
- Run it.
- Select “Upgrade this PC now”.
- Follow the process.
This tool is often more reliable than Windows Update because it uses fresh installation files.
Cost: $0 – This is Microsoft’s official free tool.
Fix 12 – Try a Clean Install
If everything else fails and the upgrade repeatedly results in error 0xc1900101:
Clean Install option:
- Create a bootable USB using the Media Creation Tool
- Boot from the USB
- Select “Custom: Install Windows only”
- Perform a fresh installation
A backup is necessary first:
- Save documents, photos, and videos to an external drive or the cloud.
- Make a note of important software licenses.
- Export browser bookmarks.
Useful Free Tools
| Tool | Work | Price |
|---|---|---|
| SetupDiag | It identifies the exact reason for the upgrade failure. | $0 |
| Media Creation Tool | Alternative upgrade method | $0 |
| MemTest86 | RAM testing | $0 |
| Snappy Driver Installer | Offline driver updates | $0 |
| Disk Cleanup | Freeing up space | $0 |
Visit fixtech.in for more Windows upgrade troubleshooting guides.
FAQs – About Windows error 0xc1900101
1. Does error 0xc1900101 cause data loss?
No. Windows performs an automatic rollback and restores the previous state; your data remains safe.
2. Where can I download the SetupDiag tool?
From Microsoft’s official site: learn.microsoft.com/windows/deployment/upgrade/setupdiag
3. Can I install Windows 11 directly, skipping Windows 10?
Yes, via a clean install. However, the hardware requirements must be met.
4. What exactly is error 0xc1900101-0x40017?
It is a driver failure during the SECOND_BOOT phase. Graphics or network drivers are the most common culprits. Fix 3 and Fix 4 specifically address this issue.
5. What if TPM 2.0 is still not detected after a BIOS update?
Some older hardware does not physically support TPM 2.0. In such cases, upgrading to Windows 11 is not officially possible.
6. How much data is required to upgrade using the Media Creation Tool?
4–6 GB. It is recommended to use an unlimited or high-data plan.
Final Thoughts
Error 0xc1900101 is a driver-related Windows upgrade failure that may seem intimidating but is fixable in most cases. Steps such as unplugging external devices (Fix 1), updating drivers (Fix 3), identifying the exact issue using SetupDiag (Fix 4), and using the Media Creation Tool (Fix 11) collectively resolve error 0xc1900101 for the majority of users. Follow these fixes systematically, and the Windows upgrade will complete successfully.